Sunday, November 16, 2014

Releasing new Skinpack 15/11/2014!!

I'm releasing today a new version of my skinpack for the S100 units,  updated to suit the new firmware 1.7.9.
In this new firmware there are some changes in the user interface, not very relevant but it's better if you want to use this skinpack to upgrade your unit to this firmware, downloading it from roadnavdotcom.

This is the 15.11.2014 changelog:

- The skins are updated to suit the new firmware 1.7.9

- Many fixes and adjustments in Skinmanager (English is default language now)

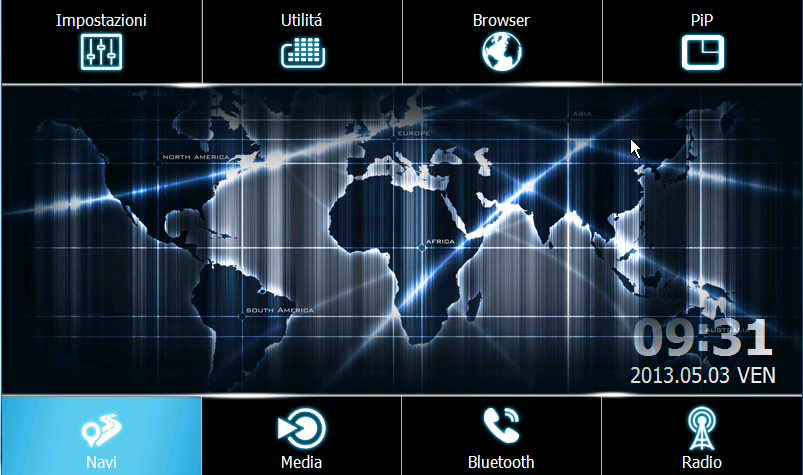
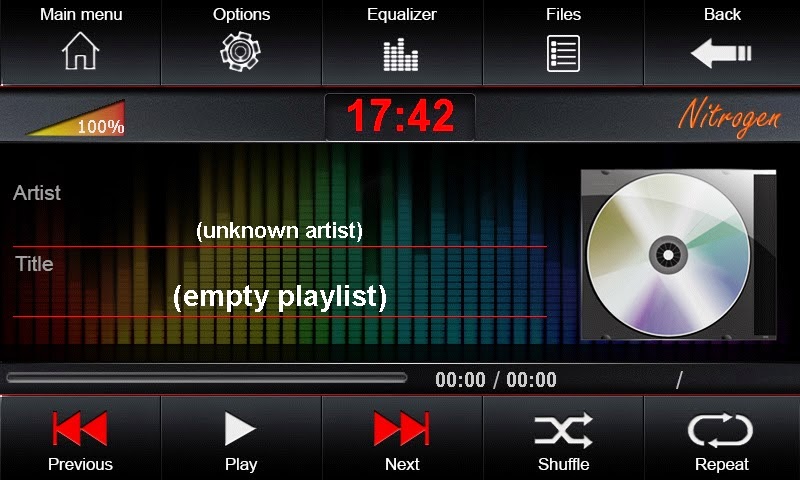
- Skin4 is darker now to gain more contrast and its Nitrogen skin is darker too match it

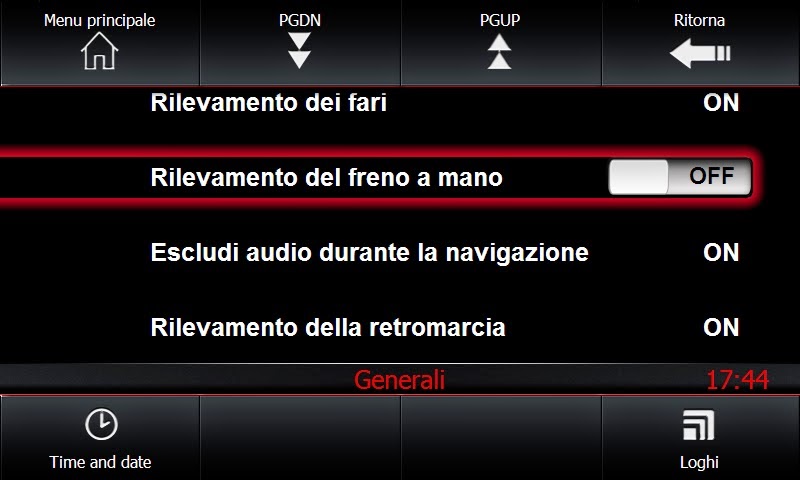
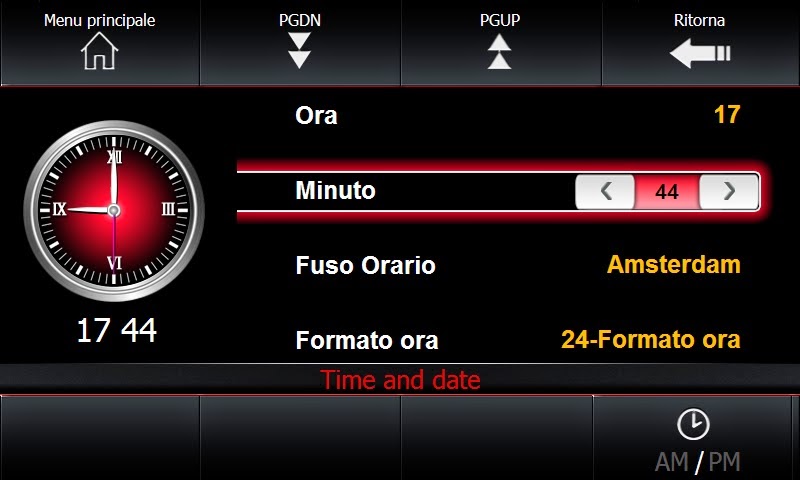
- Some new sections skinned in Skin4: SystemInfo,SettingsGeneral, SettingsLogo,SettingsTime,WorldTime,BTSearch,BTMusic

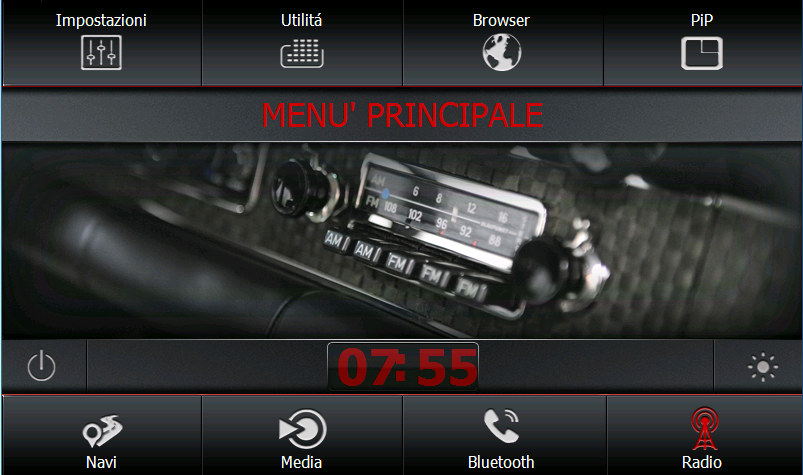
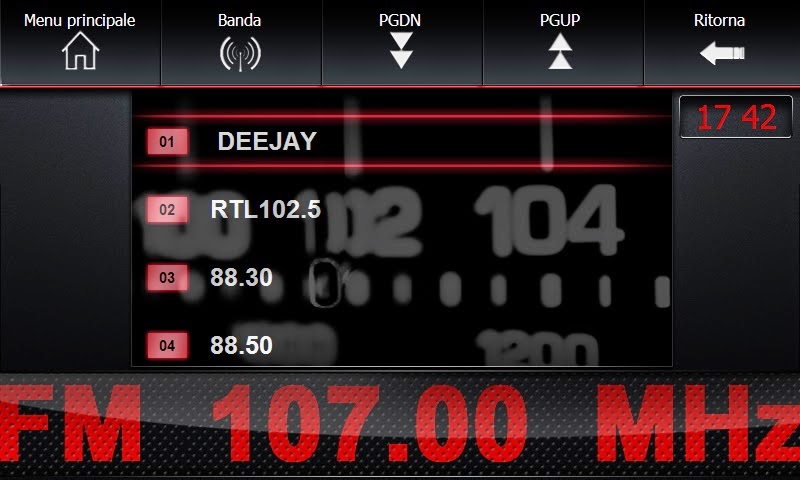
- Some rework on Skin4 in Radio section.


The skins are independent between model versions, they work almost on every models.
To install the skins you need to:
1. extract the skinpack on the root of a normal SD card
2. set navi path to point to \skinmanager\skinmanager.exe
3. hit the navi button (twice maybe)

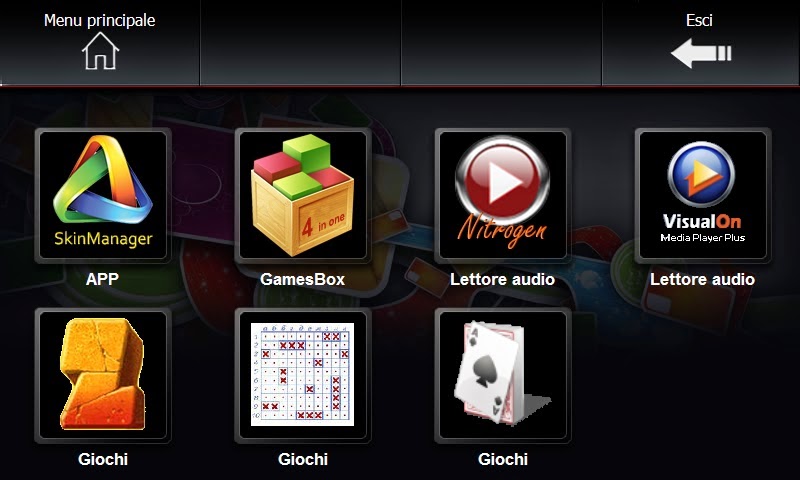
Once you install at least one skin, you will have skinmanager installed in the section Tool->Games (or APP) and you can switch skins in about 10 seconds.
Here is a small sample video of the skinmanager in action:


Some pics of the skins:
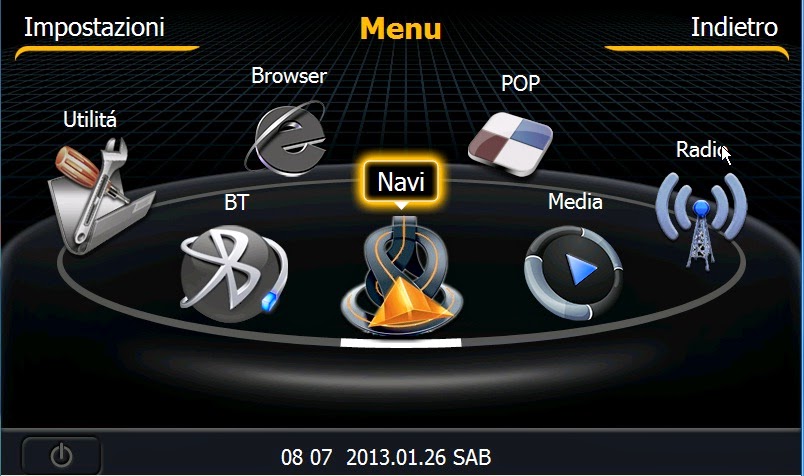
SKIN 2
SKIN 3
SKIN 4

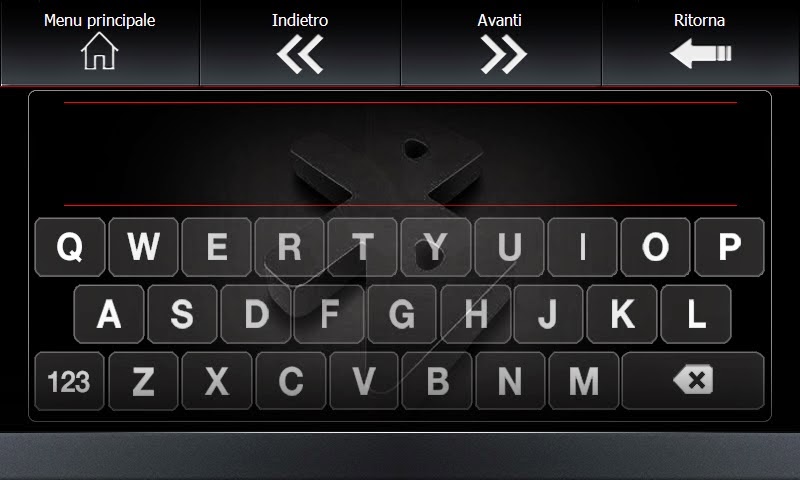
Some Skin4 screenshots:


Here is the new Skinpack:  Skinpack 15.11.2014.rar
UPDATE: All the skinpack aren't free anymore, to download the skinpack you have to go to this post:


Once the payment is confirmed you will be redirected to the Skinpacks folder where you can find older versions, the curent one  and even the new ones when they will be available.


These are the packs included in the folder now:
- Skinpack 12.01.15 for fw 1.7.9
- Skinpack for fw 1.6.9
- SkinPack for fw 1.0.9.0 to 1.6.9
- SkinPack for fw up to 1.18.7

Wednesday, November 5, 2014

S100 Wince firmware flash and recovery method using SDBOOT

The SDBOOT recovery is not the normal firmware upgrade for wince units, this is intended to be the procedure:

- to recover your s100 unit after a bad fw flash
- to switch back to wince an S100 unit previously converted to android(only if running firmware till 06/06/2014 or a 2.34 fw)

- to convert an S150 android  unit to wince (only if running firmware till 06/06/2014 or a 2.34 fw)

First you need a firmware for your unit, possibly the original one made just for your cxxx unit.
If you don't have the original firmware you can adapt another unit firmware using this tool: SetUpdateXML_EN_2.exe (this is the version for newer 1.x.9 serie of fw)


Simply put the exe in the same folder where you have extracted the fw files and run it; select your model and hit ok.
Anyway your fw will not be safe enought until you find the correct MCU.bin for your unit, so i recommend to use always an MCU that you know it work ok for you.

Second you need this package: SDBOOT_wince.zip and a possibly new SD card (2-4Gb).
If you don't have a new SD i suggest you to use the mini tool partitionwizard to fully erase all the partitions you could have created using sd-flasher or other tools.
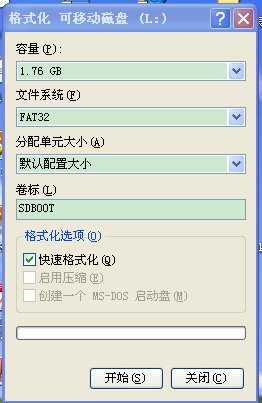
Once you have a clean SD card you can format it in fat32 using the sdformatter app included in the sdboot archive and label it "SDBOOT" (this is important!):


Now use “SDBOOT.exe” to write image into SD card selecting the SDBOOT_bootimage.nb0 included in the zip and press START:


The fuse process will take just a second, when it's done you can safely remove the SD card ejecting it from Windows, remove it and reinsert it again.

At this point Windows will ask you to format the sd, do it selecting quick format fat32.

Now you have a  wince recovery card where to copy your original firmware on it; a tipical Winca\Roadnav firmware contain this files and folder structure:
-BTUpdate\
-image\
-MCU_FLASH
-Patch\
-S100PROGRAM\
-update.xml

Copy these files on the root of the SD
Be sure you have removed all usb devices you have on the unit, eject the CD, go to Bluetooth section and disconnect all the devices.
Power off the unit
Insert the SD it in the gps slot and power on the unit.
The process will start....

Here is a sample video of the update procedure:

Don't touch anything until the process ends.
At the end you'll have a window that will ask you to remove the card and the unit will reboot:


That's all for now, rememeber if you like my work to hit the donate button.